
At long last, the heroes arrive at the ancient ruin known as Cowan’s Maze. Twilight is falling.
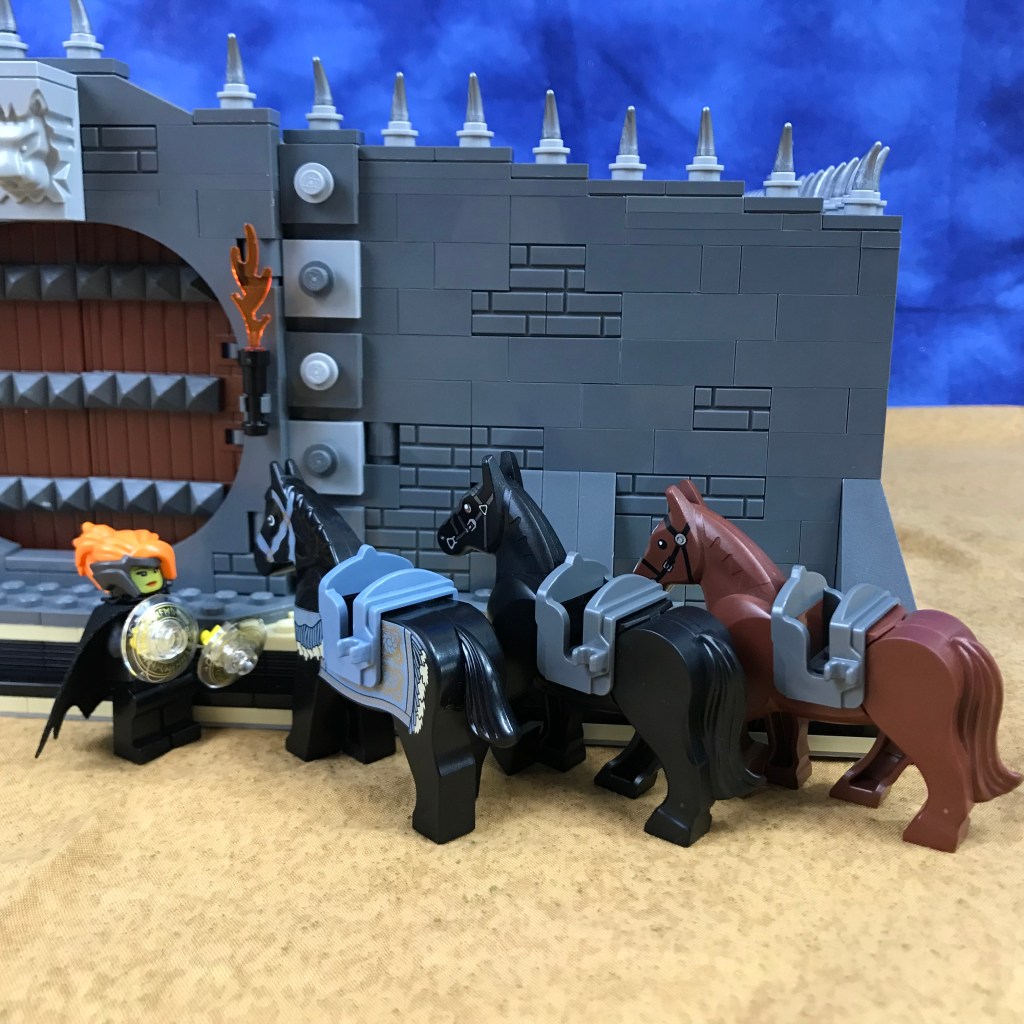
They tie their horses outside and Misako utters a charm of protection over them.
Ingrid takes off her helmet. “Misako, just stay behind me. I’ll protect you.”
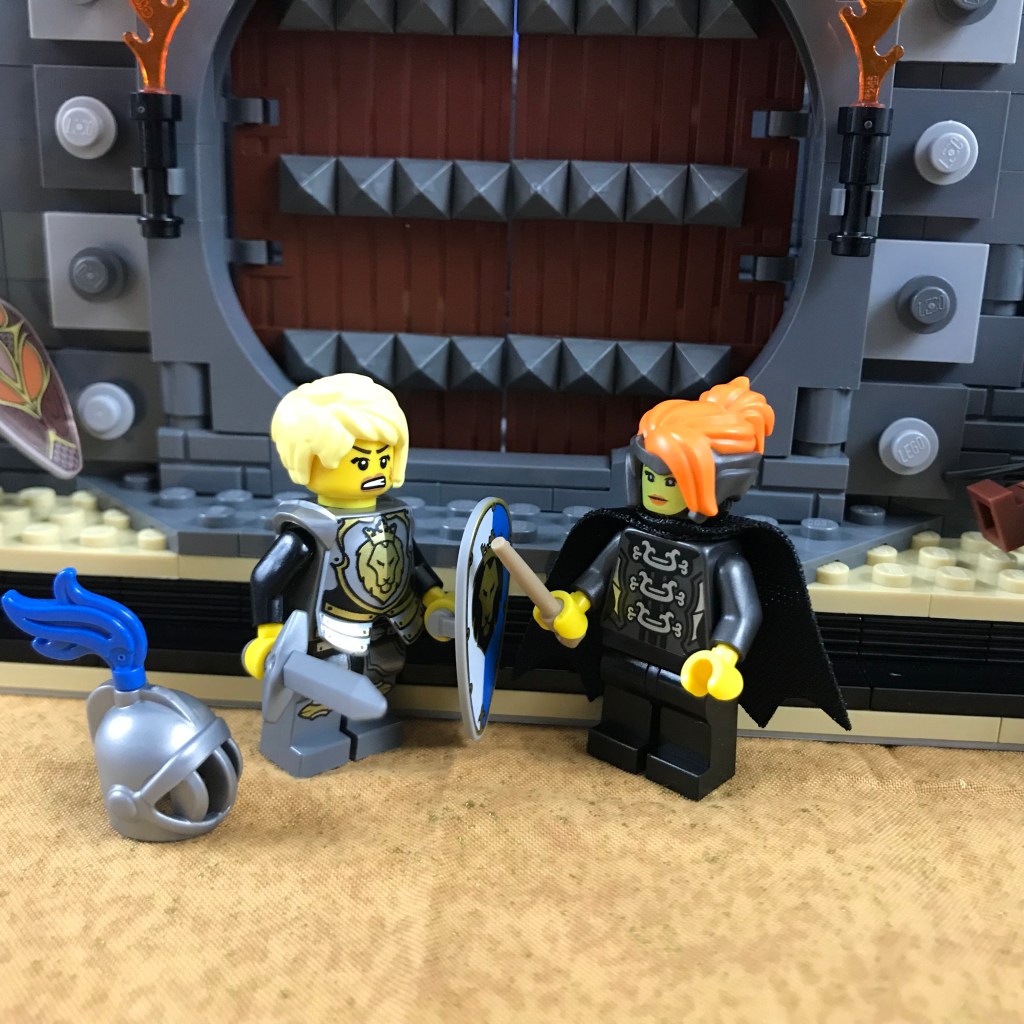
Misako laughs. “Just don’t get in the way of my wand.”
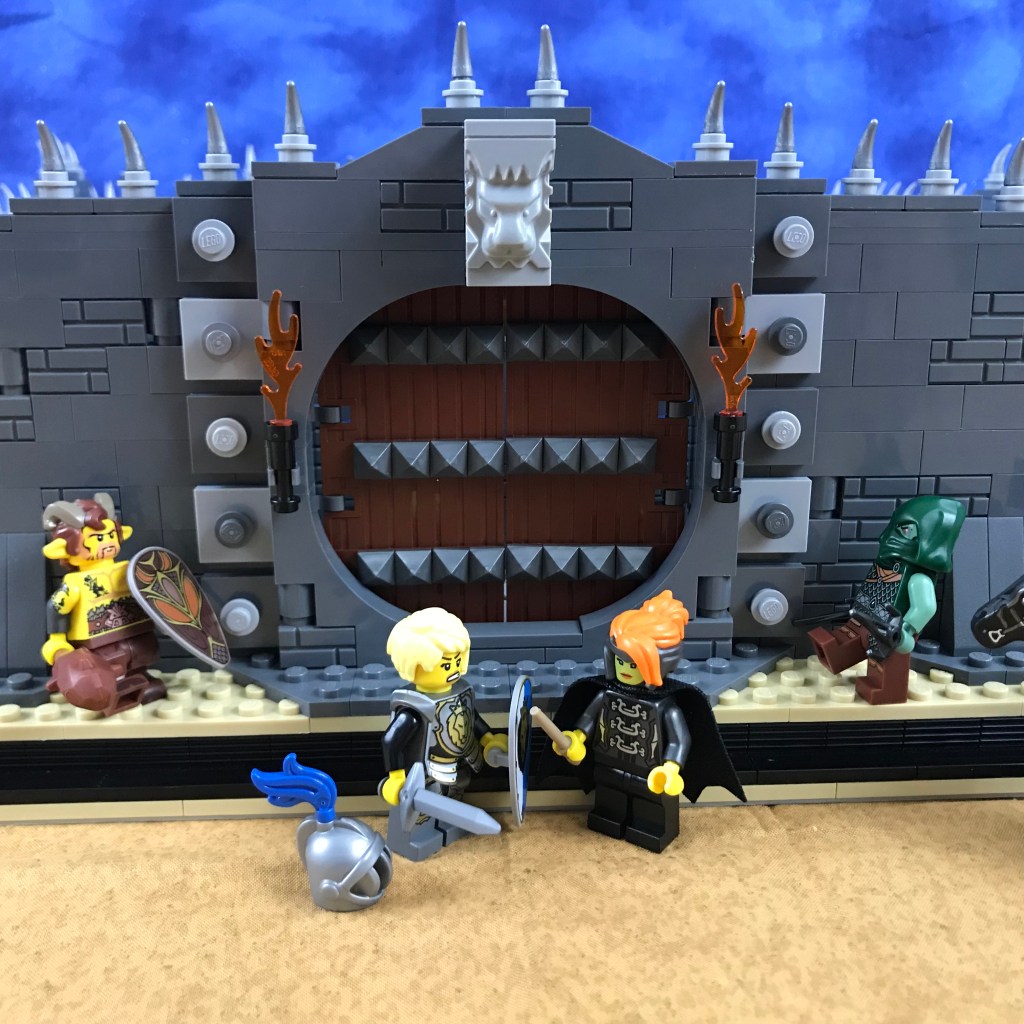
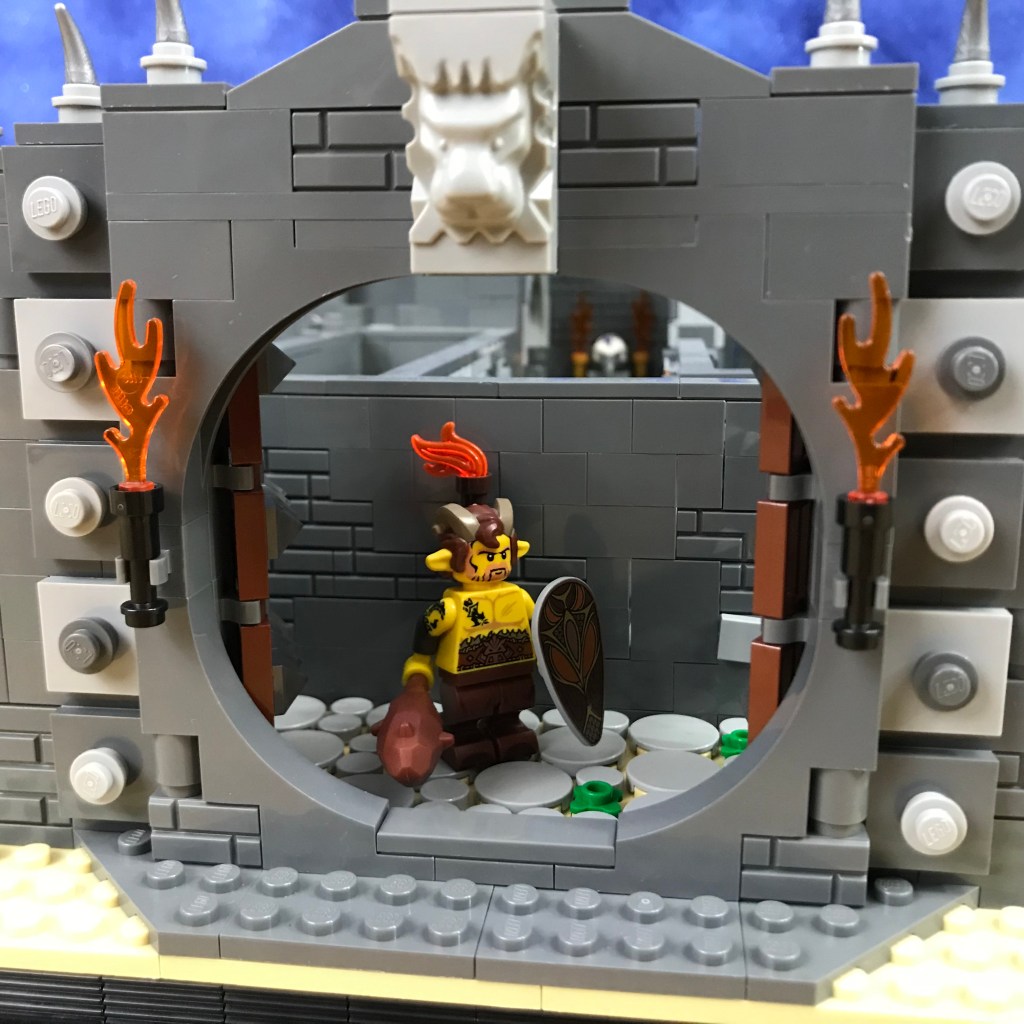
Ingrid and Taddeo put their shoulders into the huge, heavy doors.
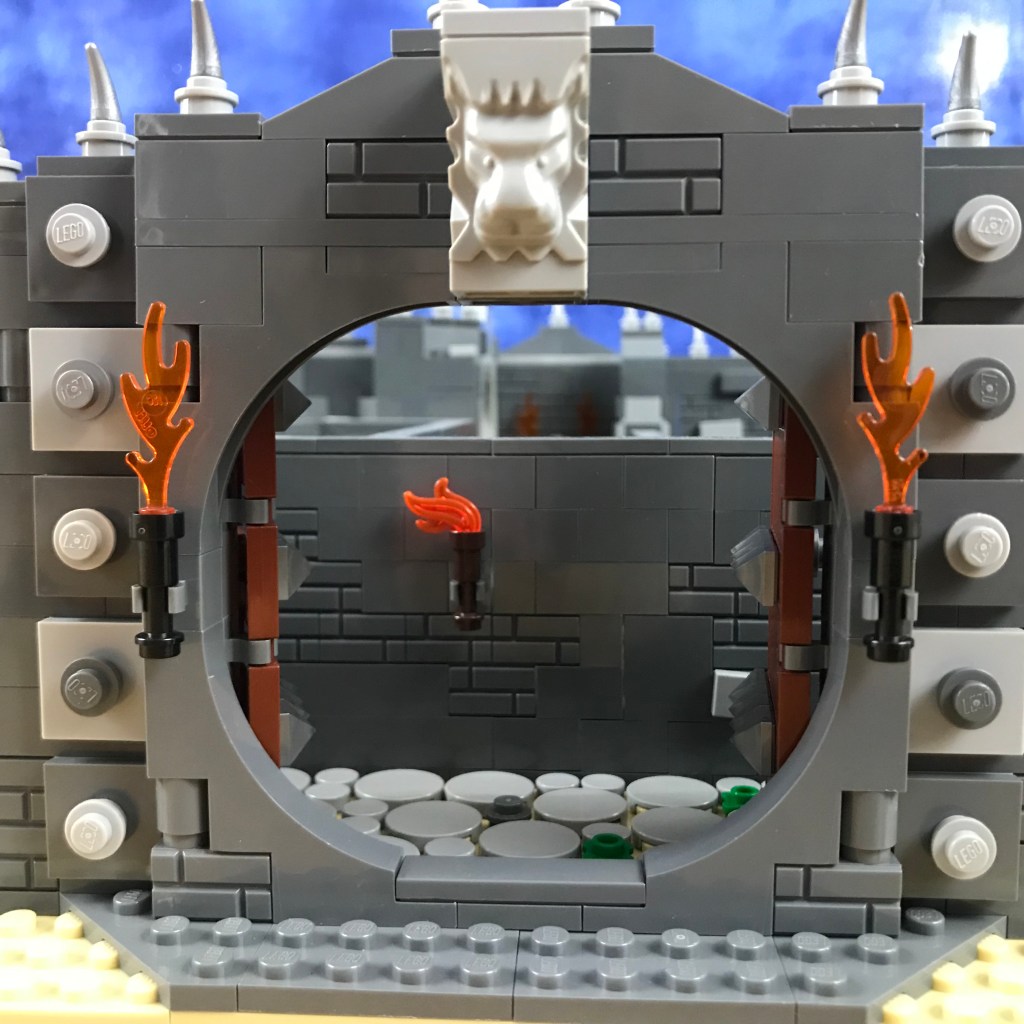
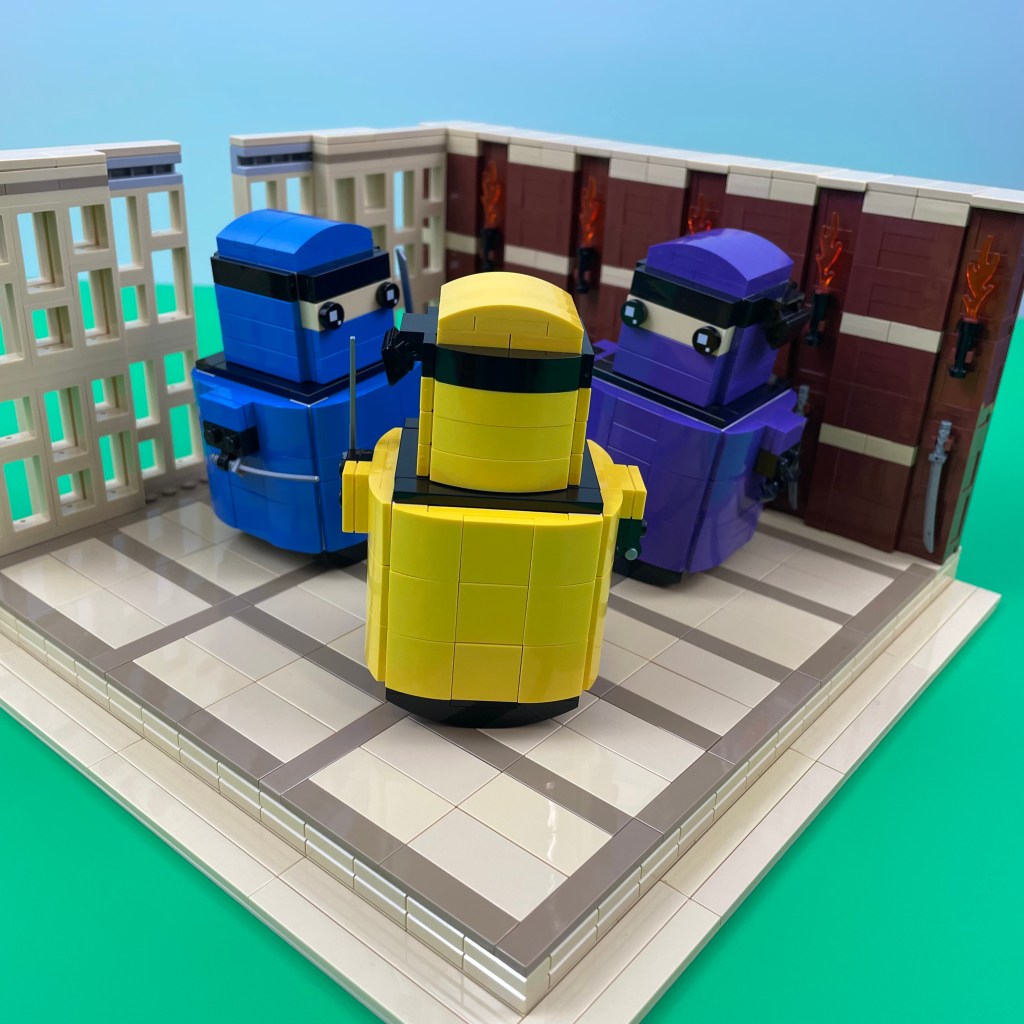
Slowly they grind open, revealing the first corridor of the labyrinth within. Through the open doors they can see the twilight sky over the spiked walls of the Maze. The sight is anything but cheerful.
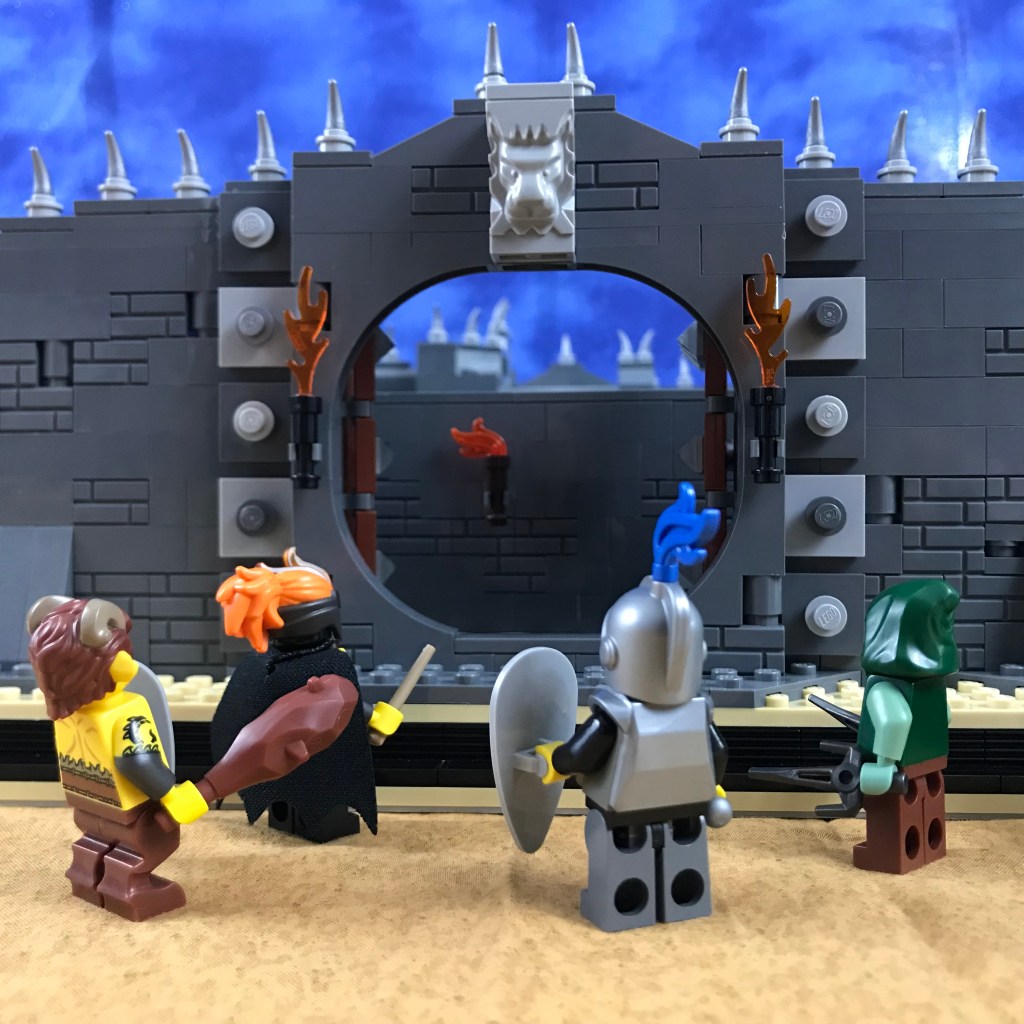
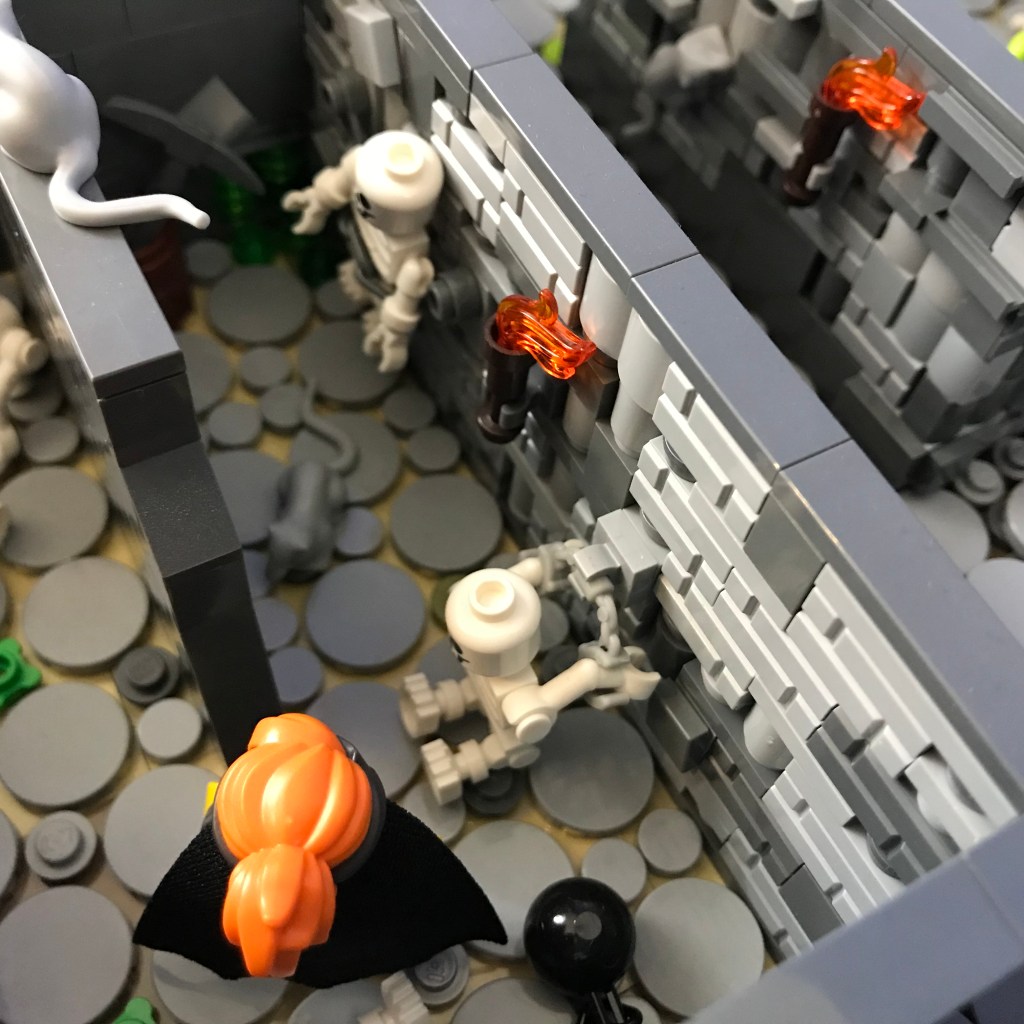
The torches burning on either side of the door do little to illuminate the interior; however, another torch burns just inside. The heroes narrow their eyes at each other; who lit the torches? It seems likely that Cowan’s Maze is not as abandoned as legend would have it.
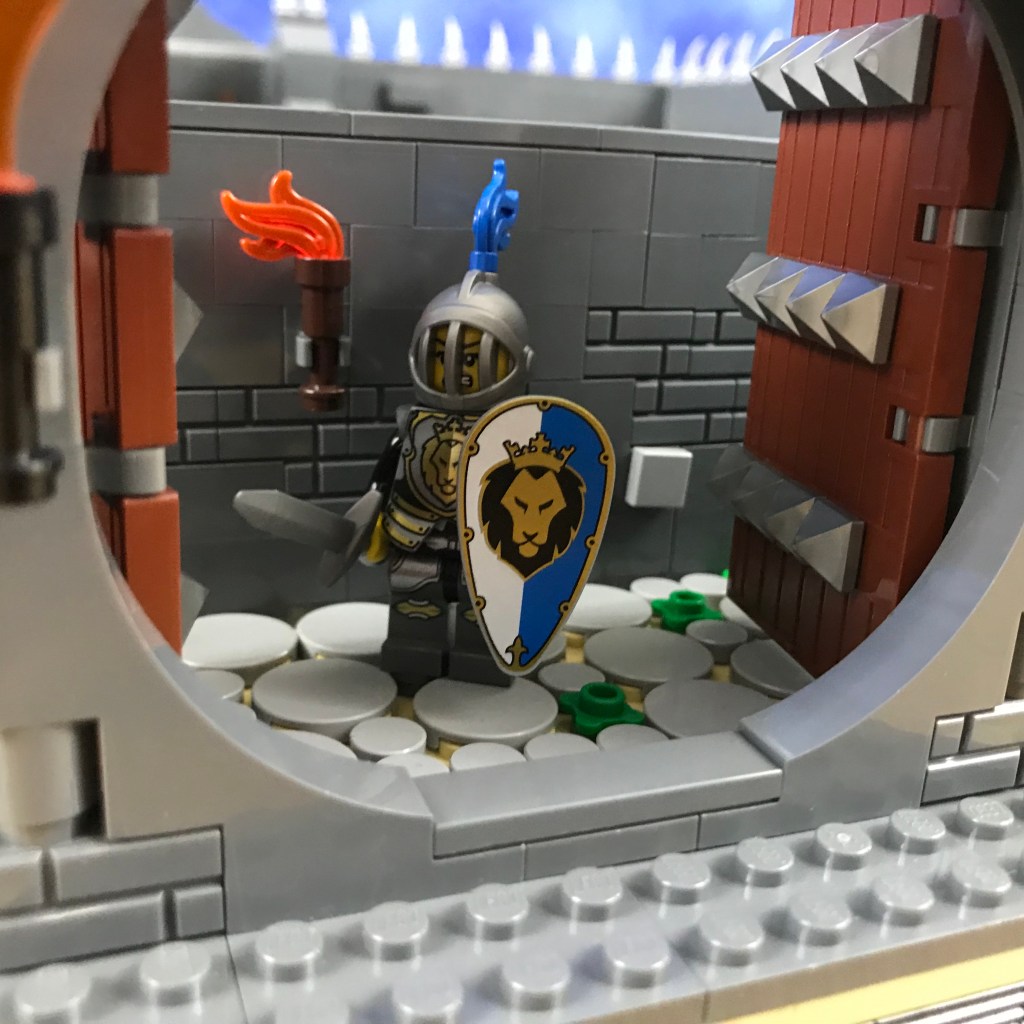
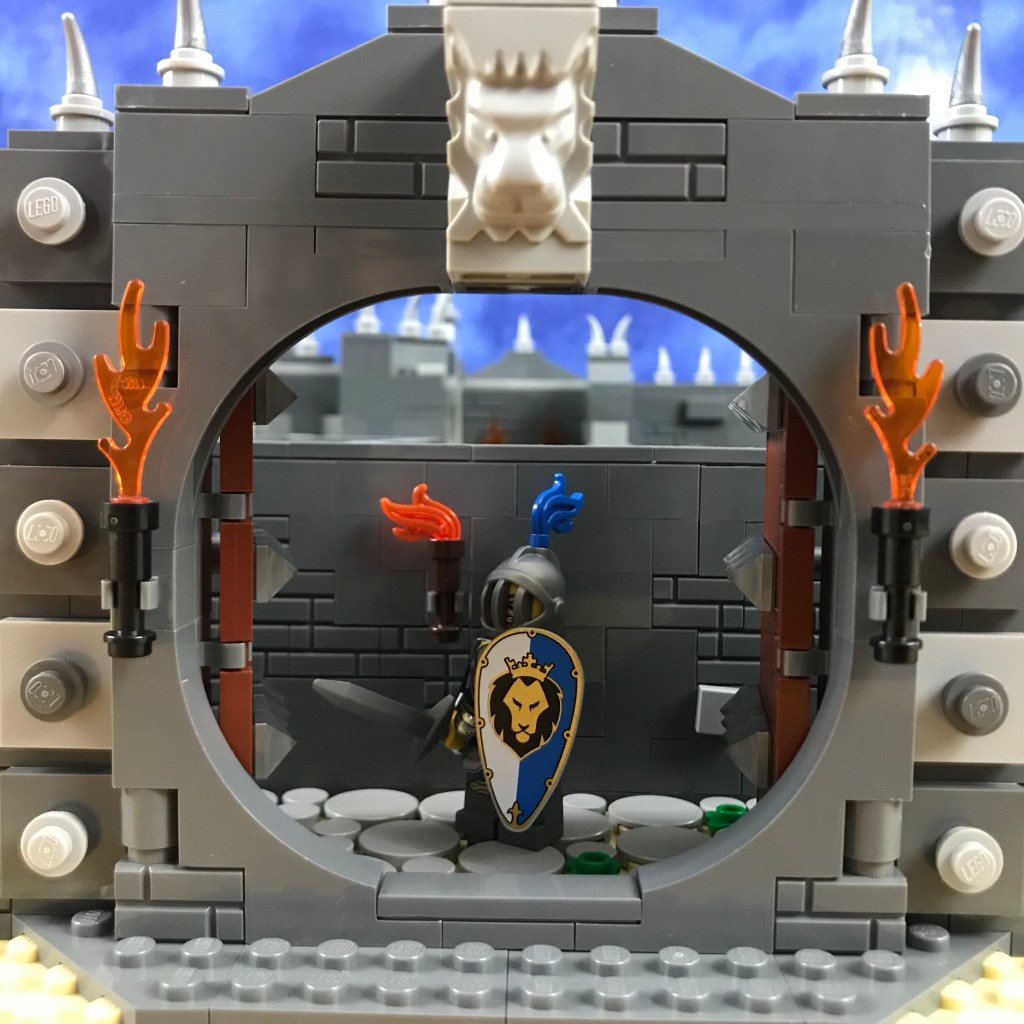
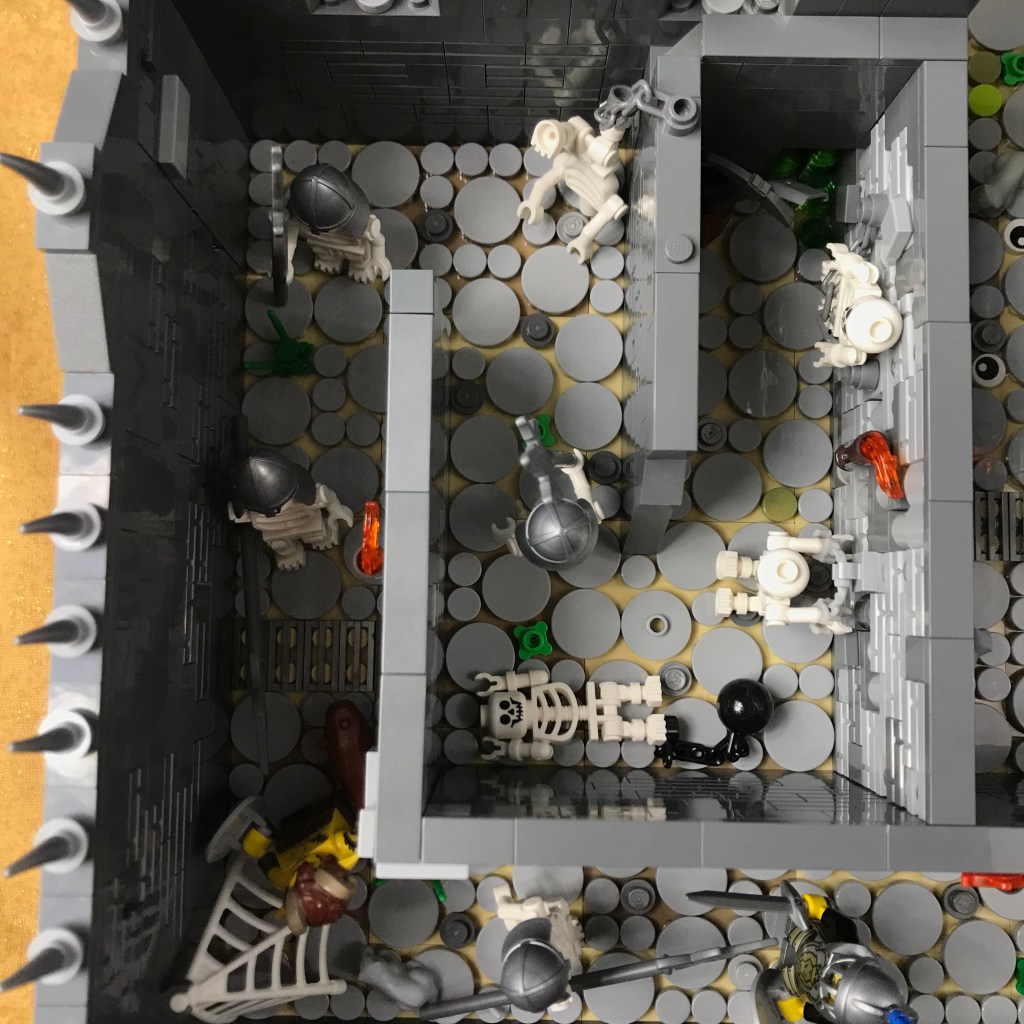
Ingrid is the first to set foot on the broken cobblestones of the labyrinth. The first corridor is quite narrow, and the doors obscure her sight in either direction. The heroes will have to enter and close the doors behind them to see what might be waiting in ambush – hardly an ideal situation.
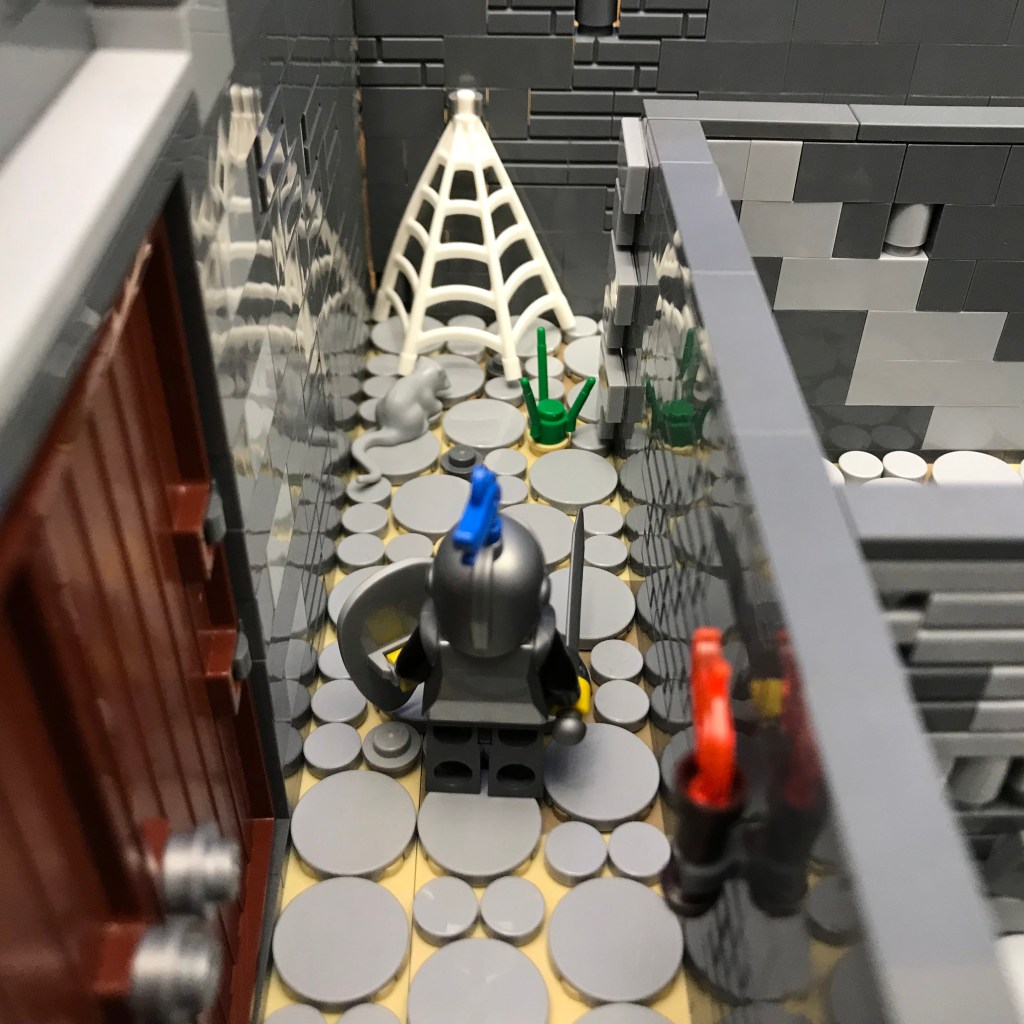
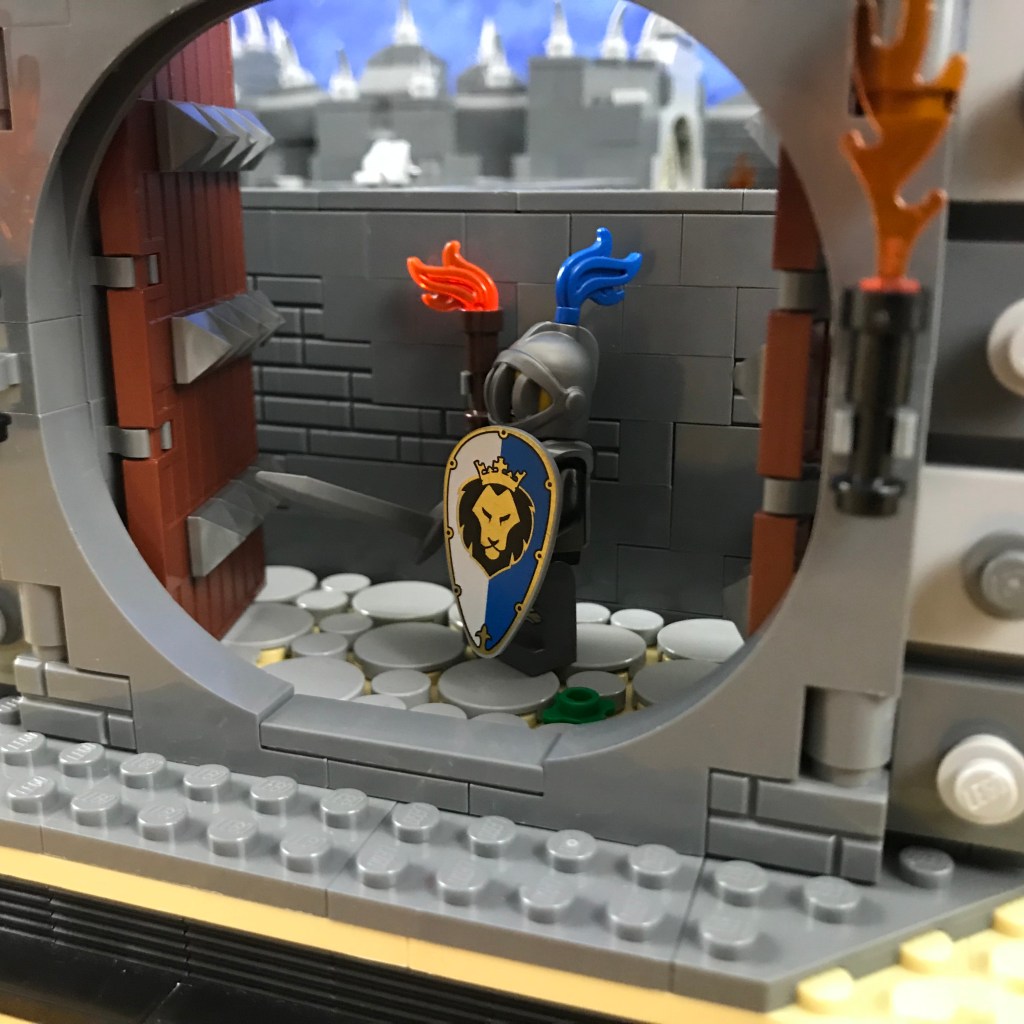
To the left, only spider webs and rats greet Ingrid’s sight.
Taddeo enters after Ingrid and Misako pauses to light her torch from the one in the hallway.
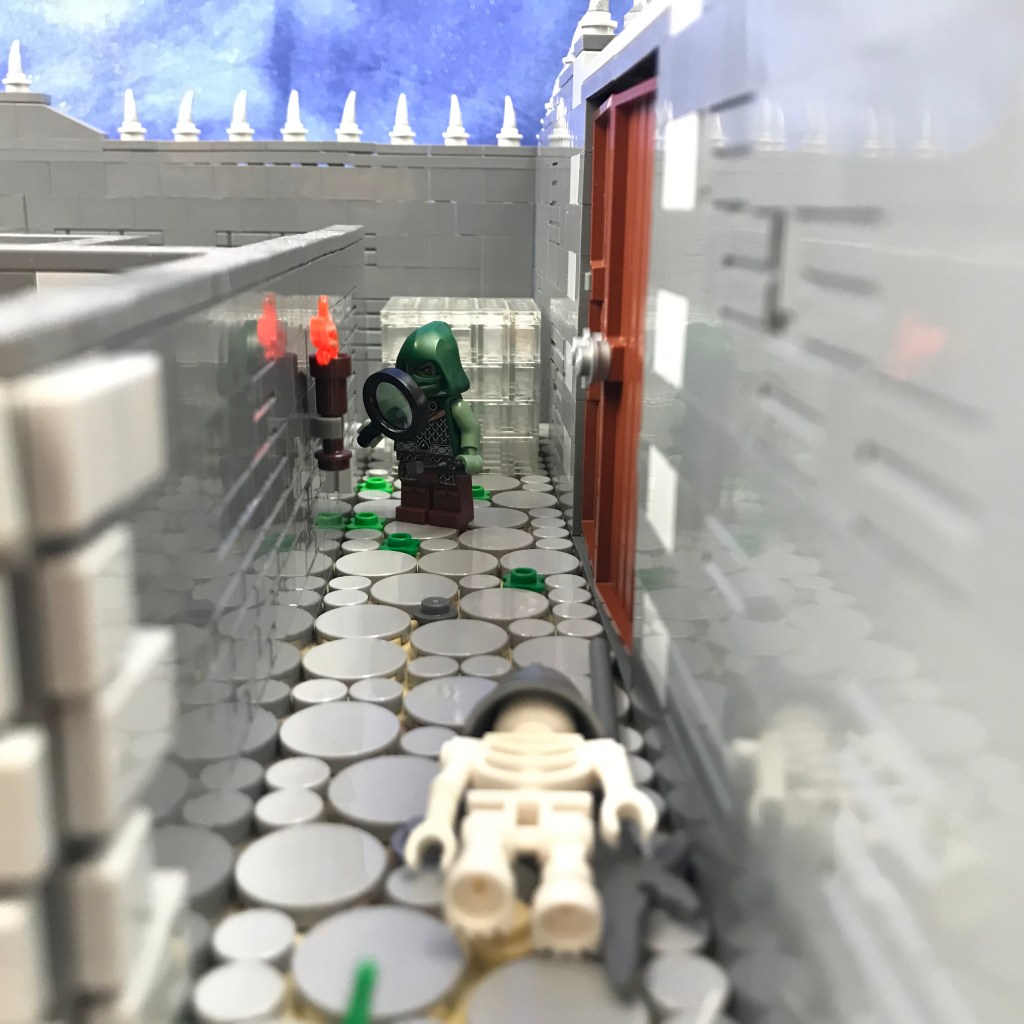
Smilax enters and examines a plate protruding from the wall, looking for traps.
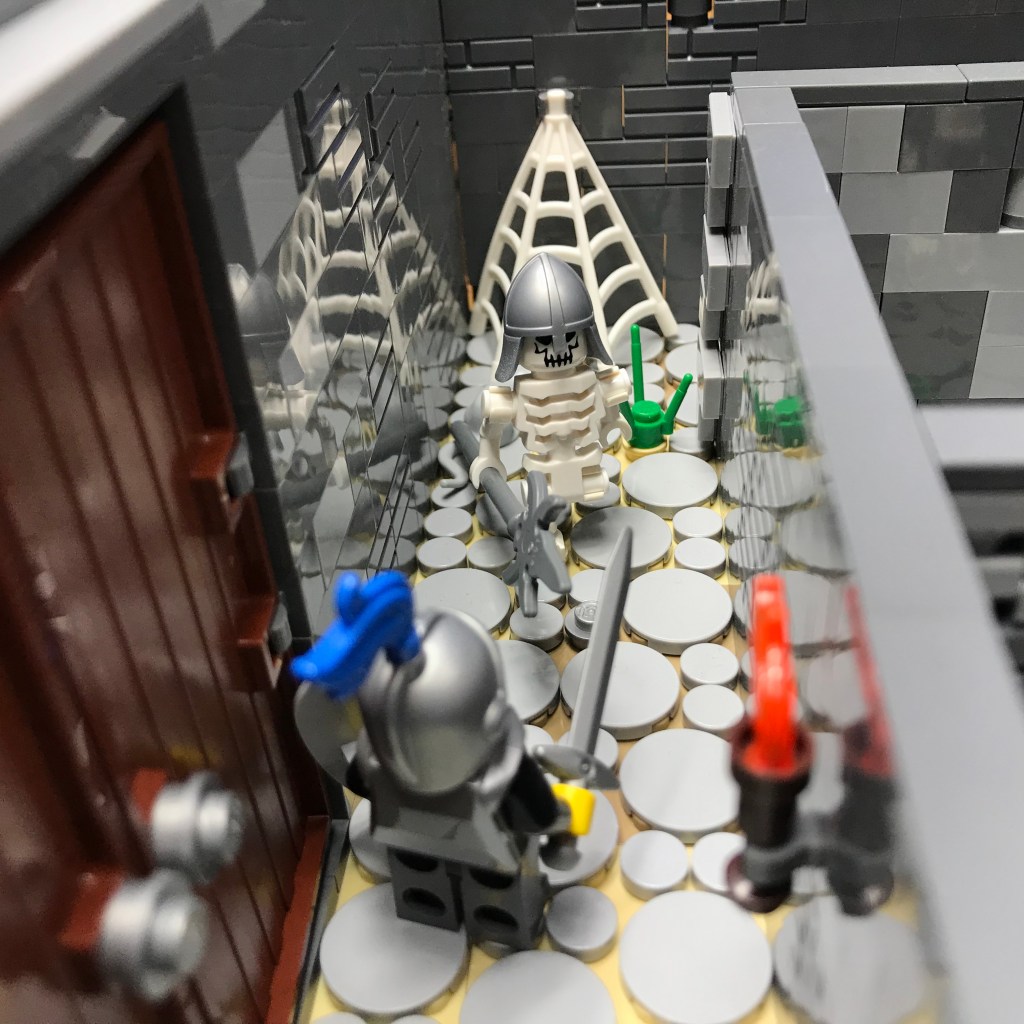
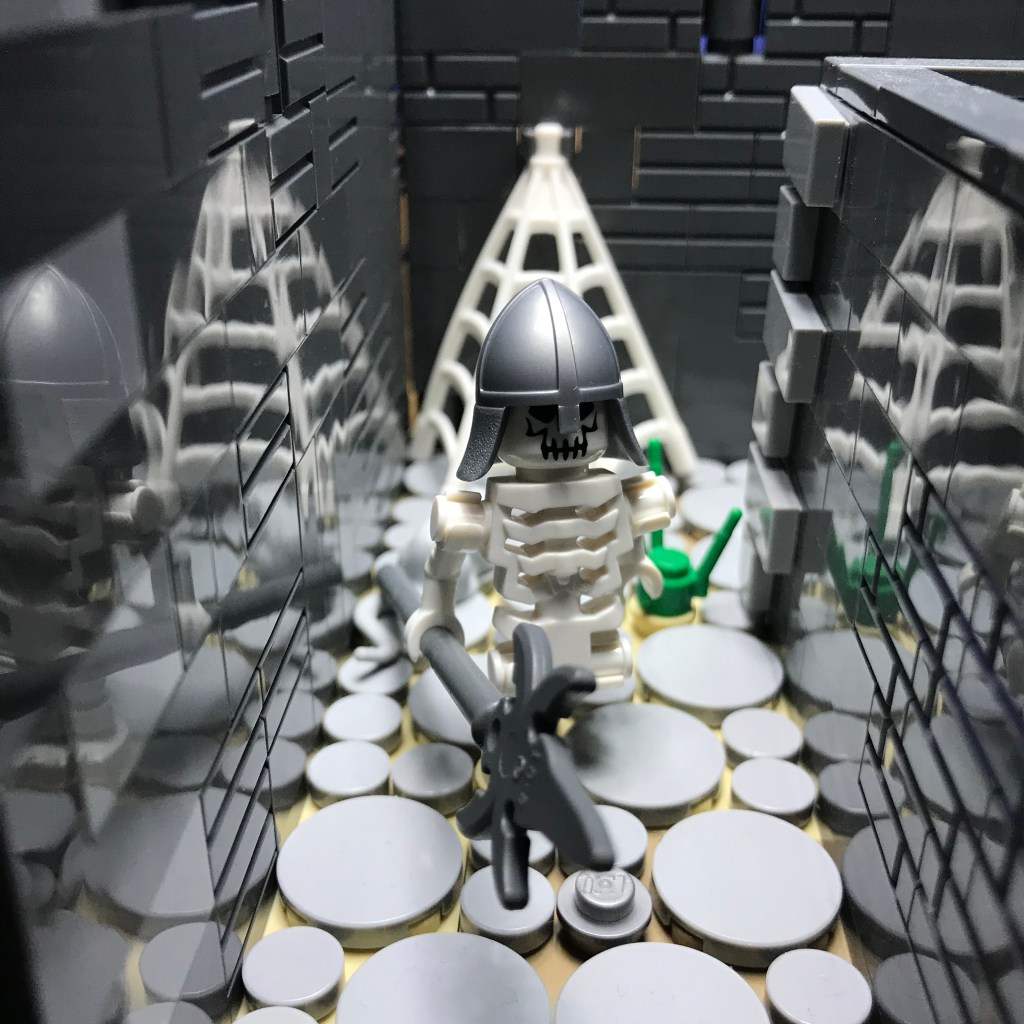
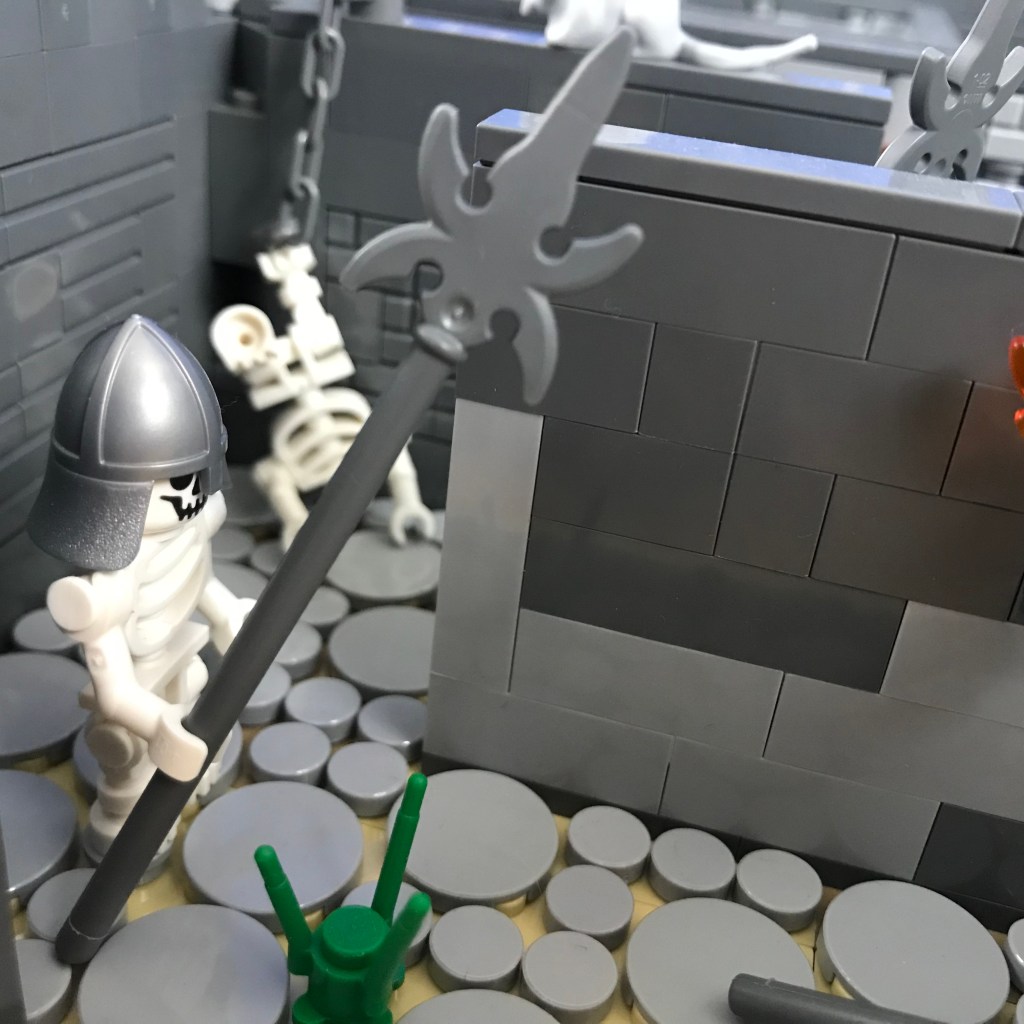
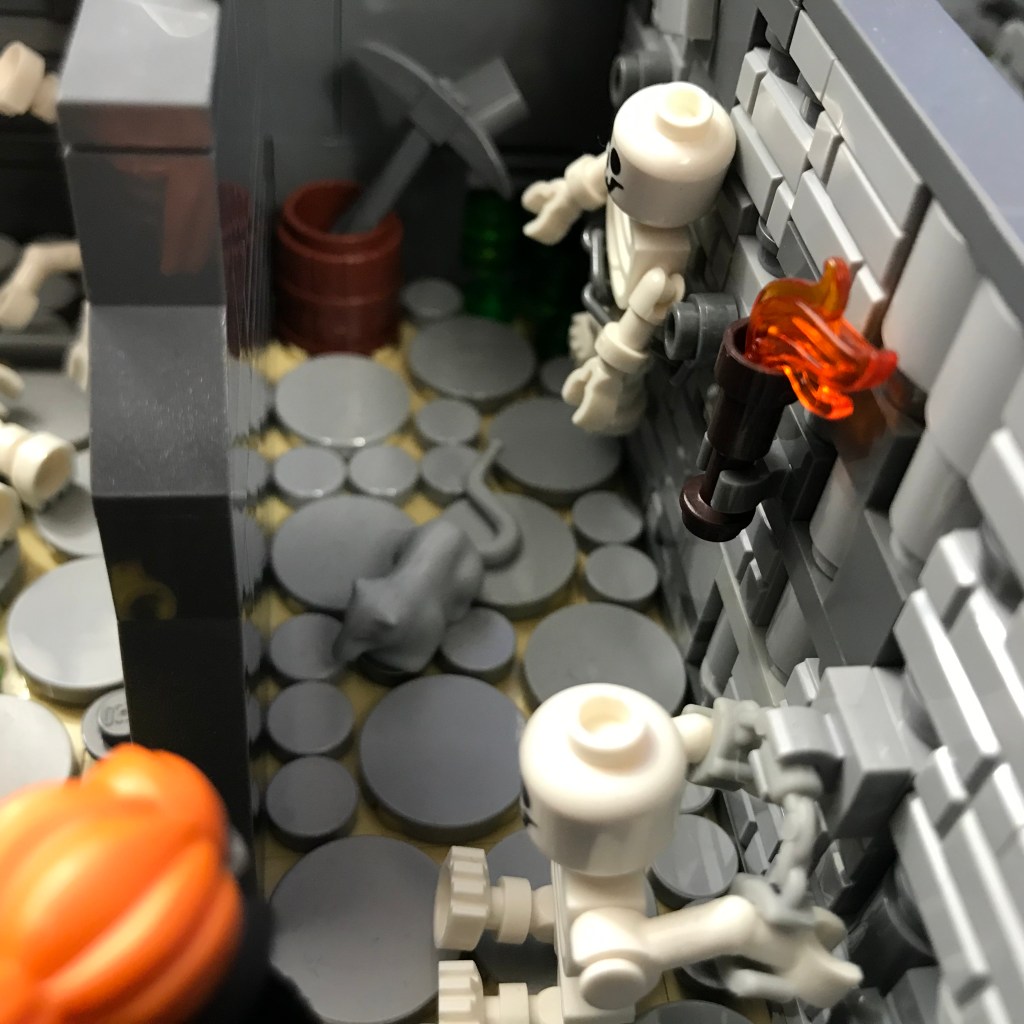
Suddenly a Skeleton Warrior rushes around the corner toward Ingrid, wielding an elaborate polearm!
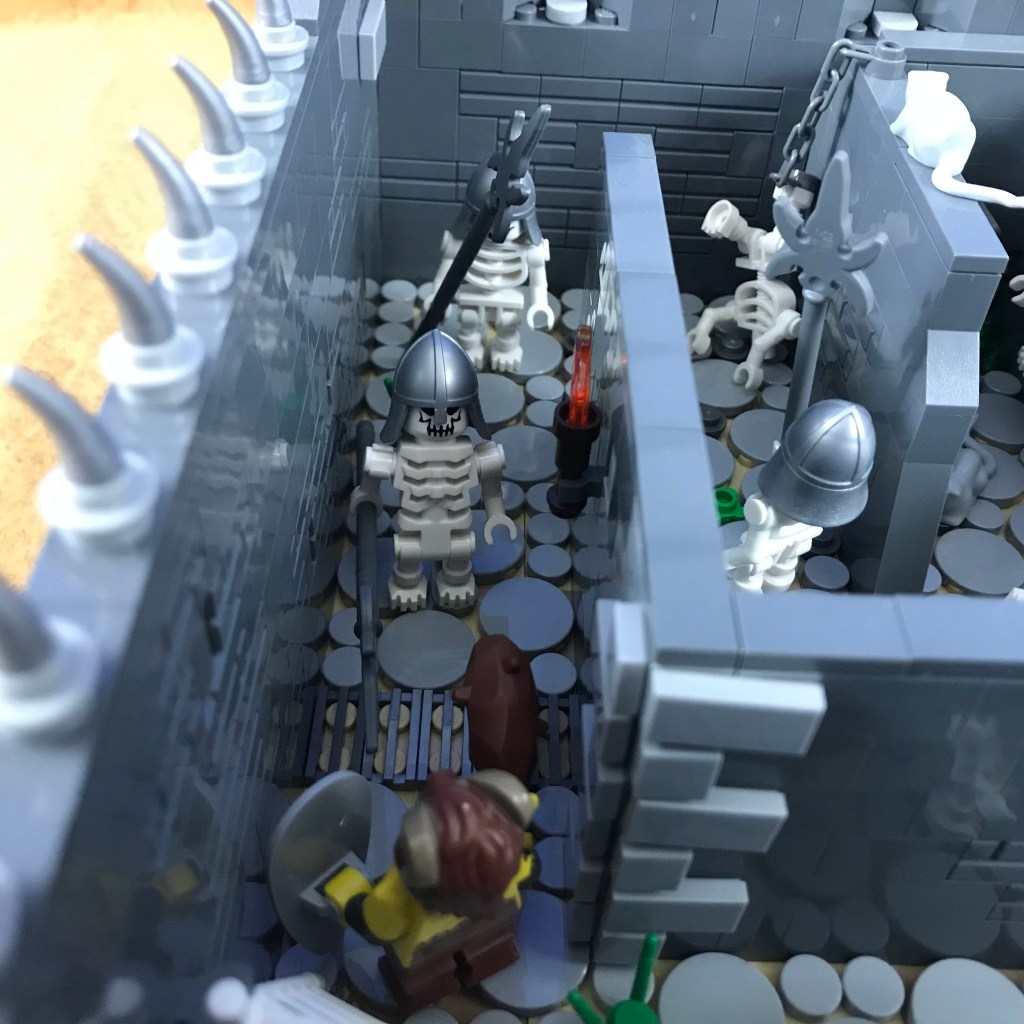
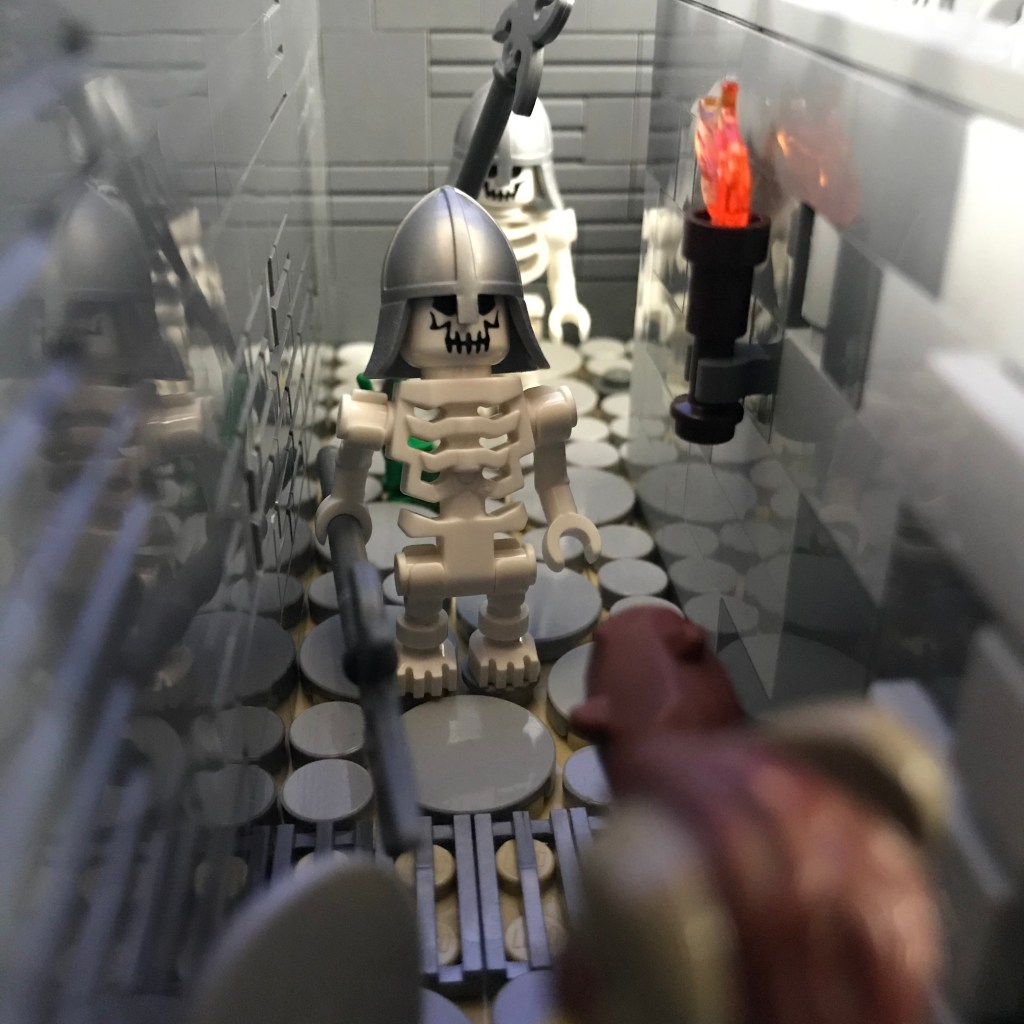
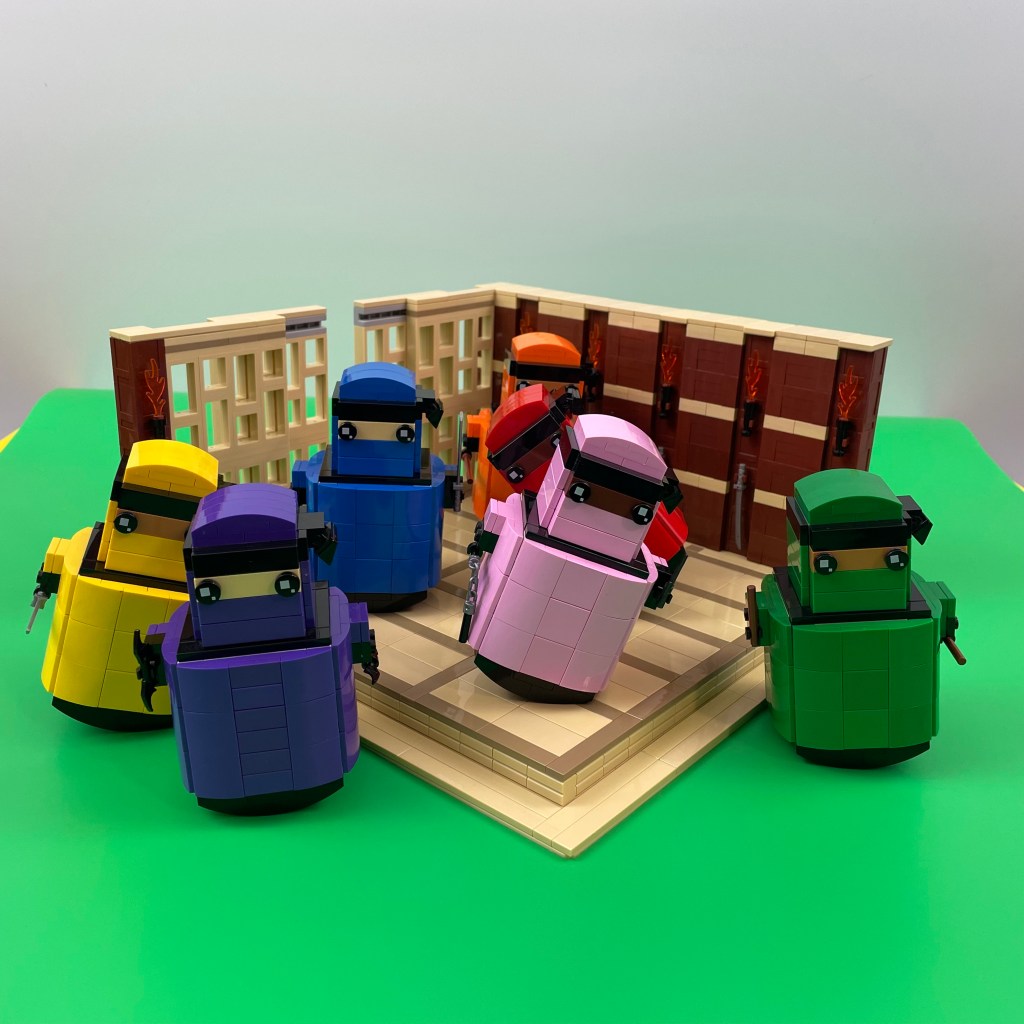
Taddeo can see the weapons of more Skeleton Warriors peeking over the top of the labyrinth wall. While Ingrid engages the first Skeleton Warrior, Taddeo leaps over their heads with his powerful legs to engage the next!

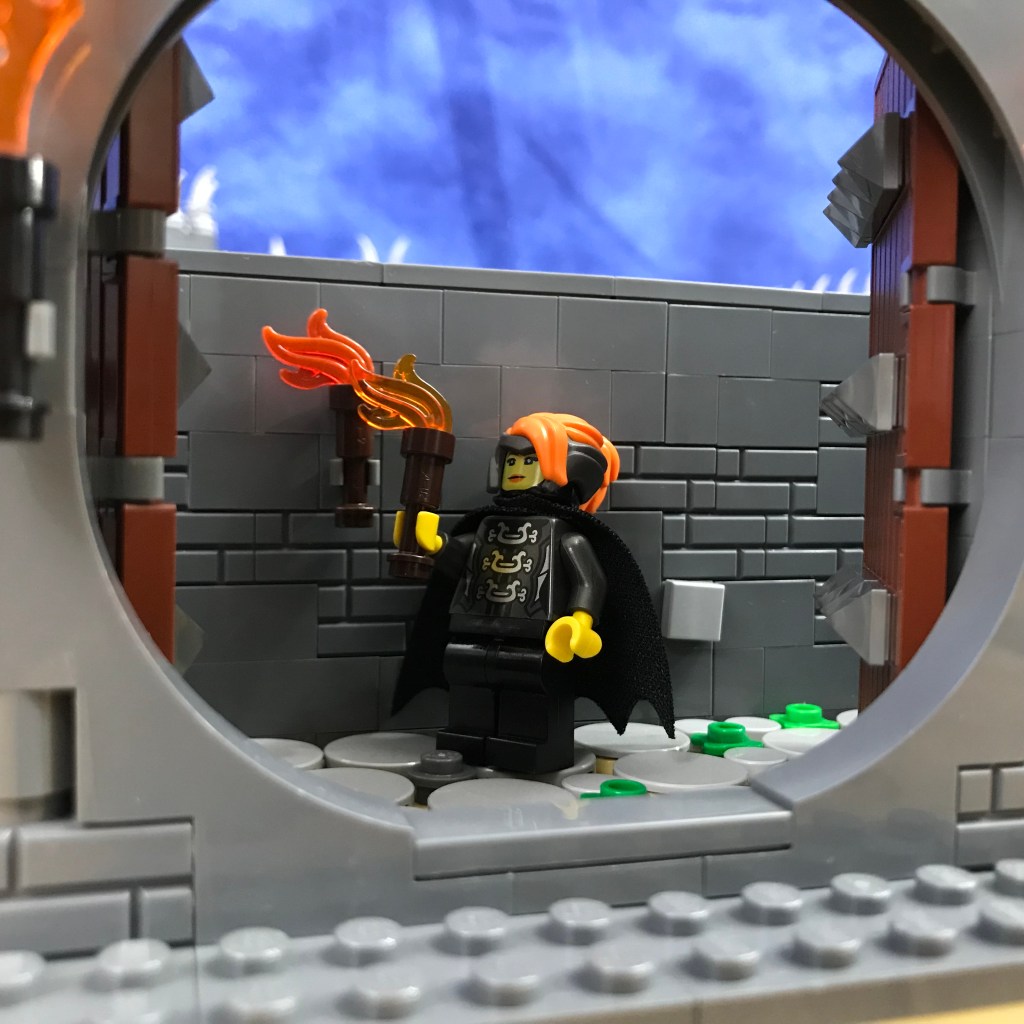
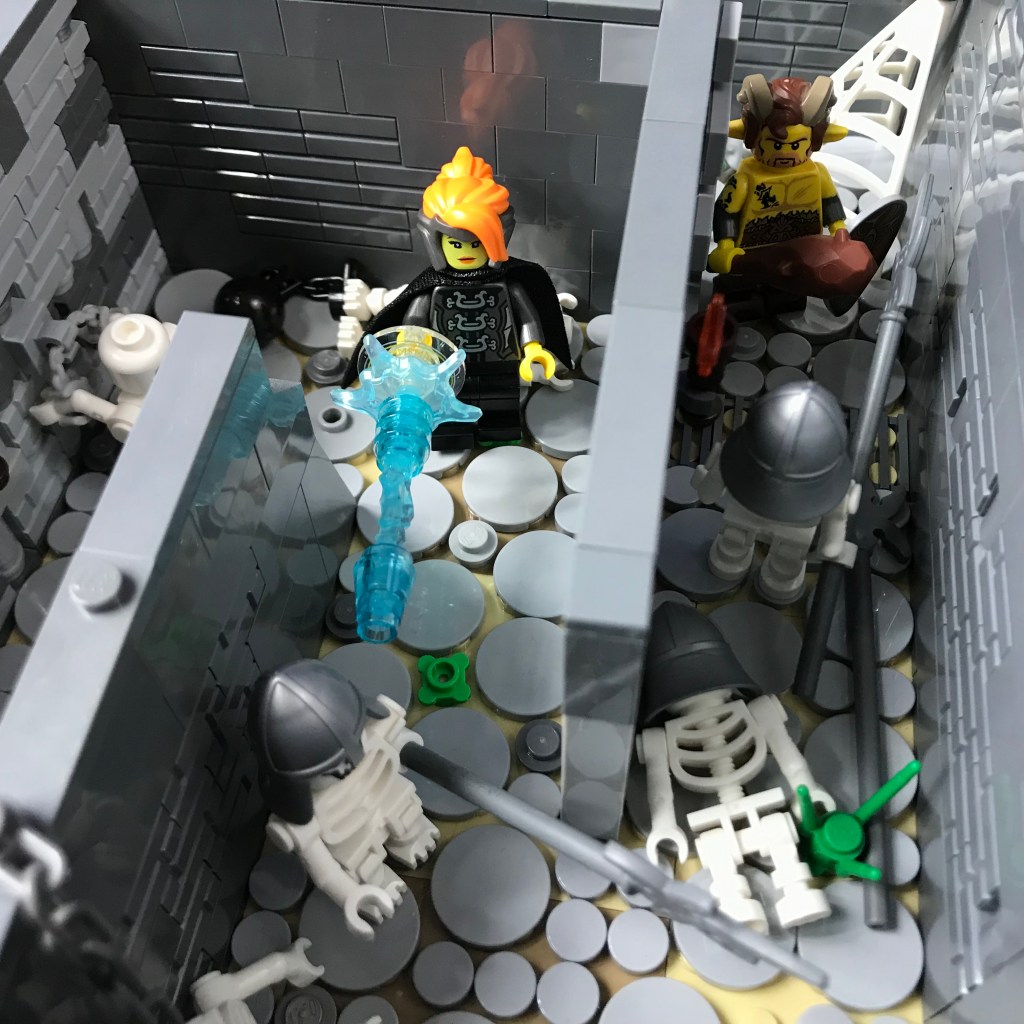
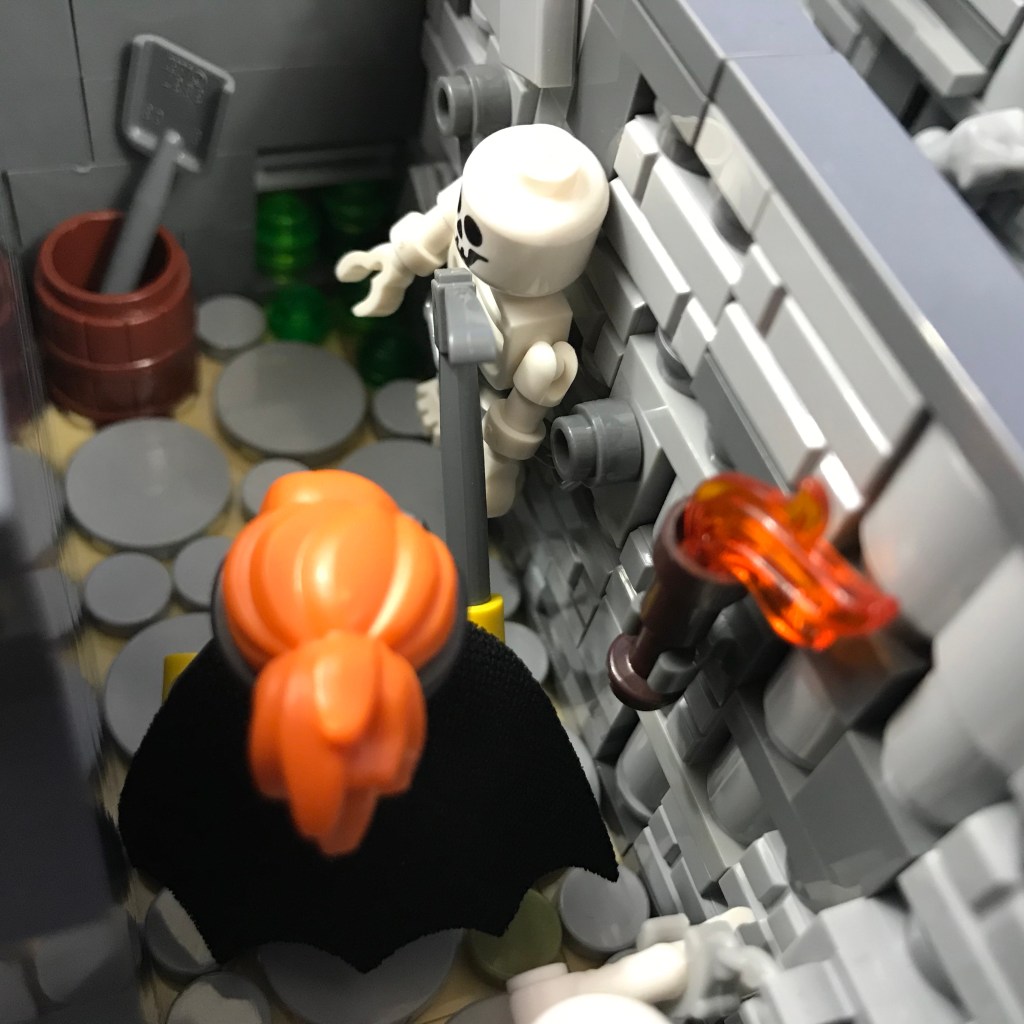
Meanwhile, Misako drops her torch and casts an invisibility spell on herself.

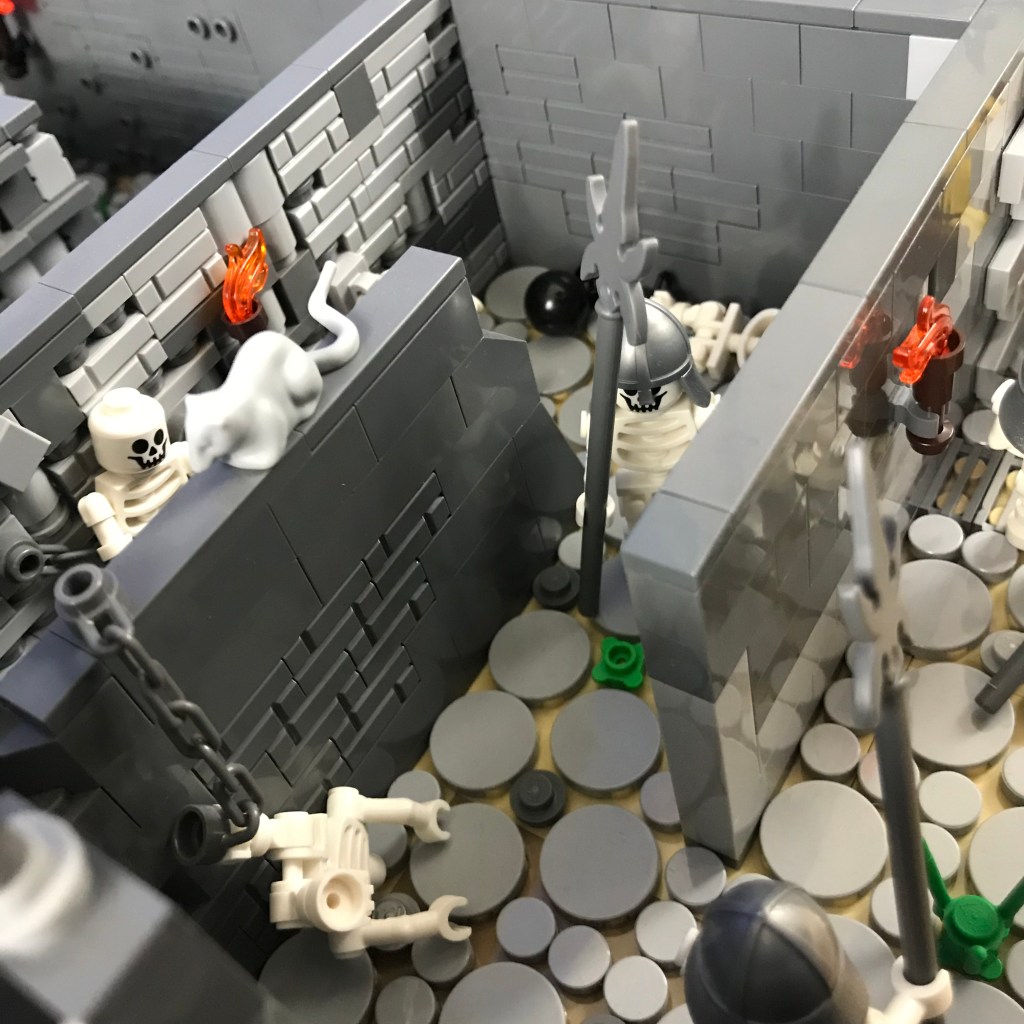
Invisible, Misako slips past the melee and delves deeper into the labyrinth, hoping to knock out a Skeleton Warrior or two before they overwhelm Ingrid and Taddeo.
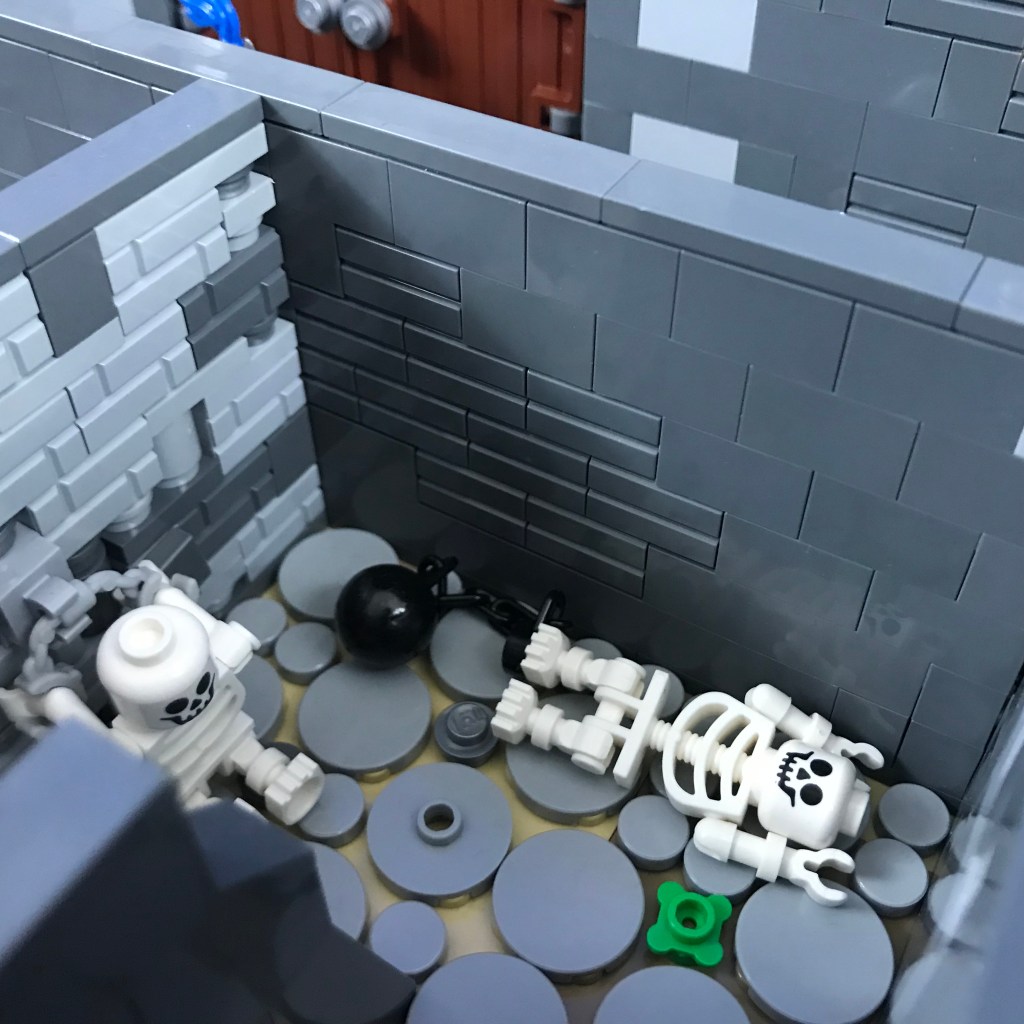
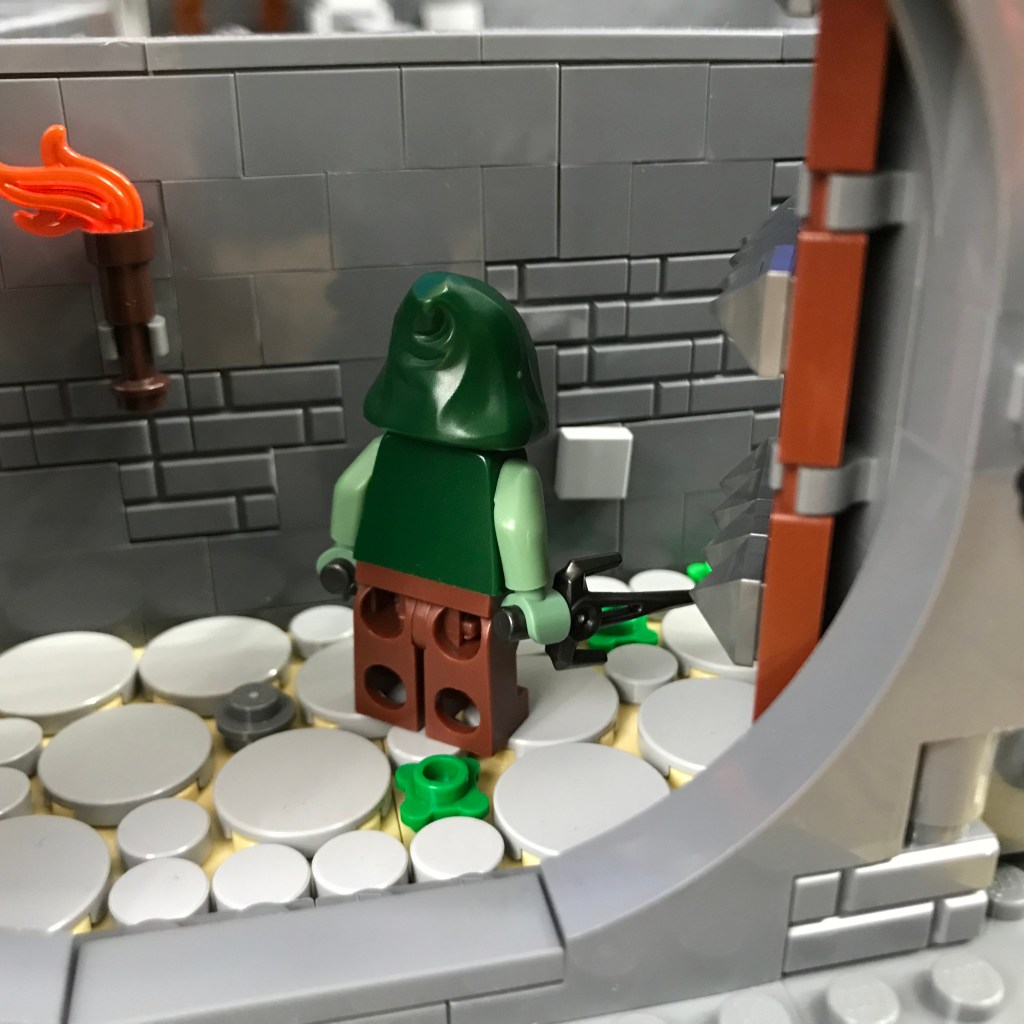
She finds more than just Skeleton Warriors – here are the remains of several unfortunate prisoners, left to rot in their shackles.
Now that she is behind the last Skeleton Warrior and has the advantage of surprise, Misako casts a magic missile at her unsuspecting enemy.


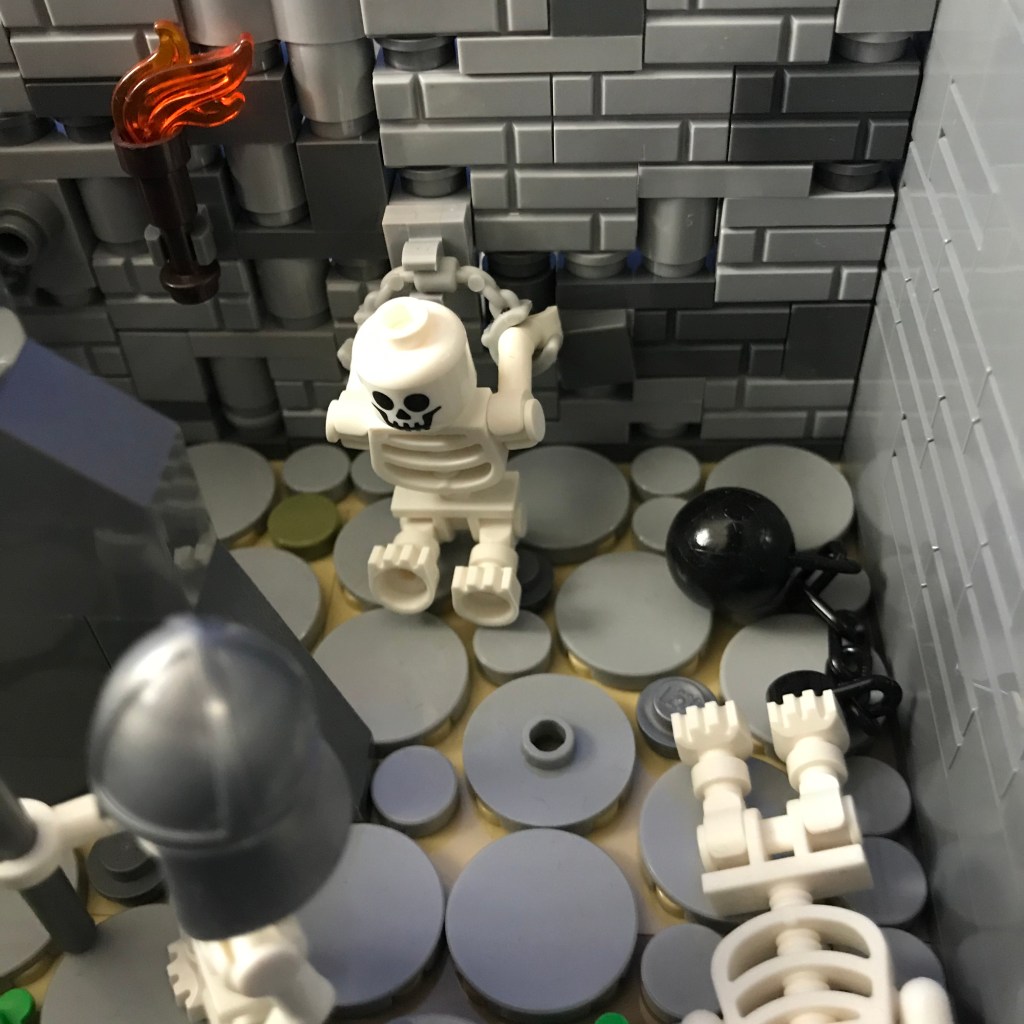
The Skeleton Warrior collapses, blown apart by her magic missile. Now Misako pauses to examine the corridor. There is little to see besides the remains of dead prisoners, a puddle of green slime leaking from the corner, and a barrel with some digging tools. This passage is a dead end.
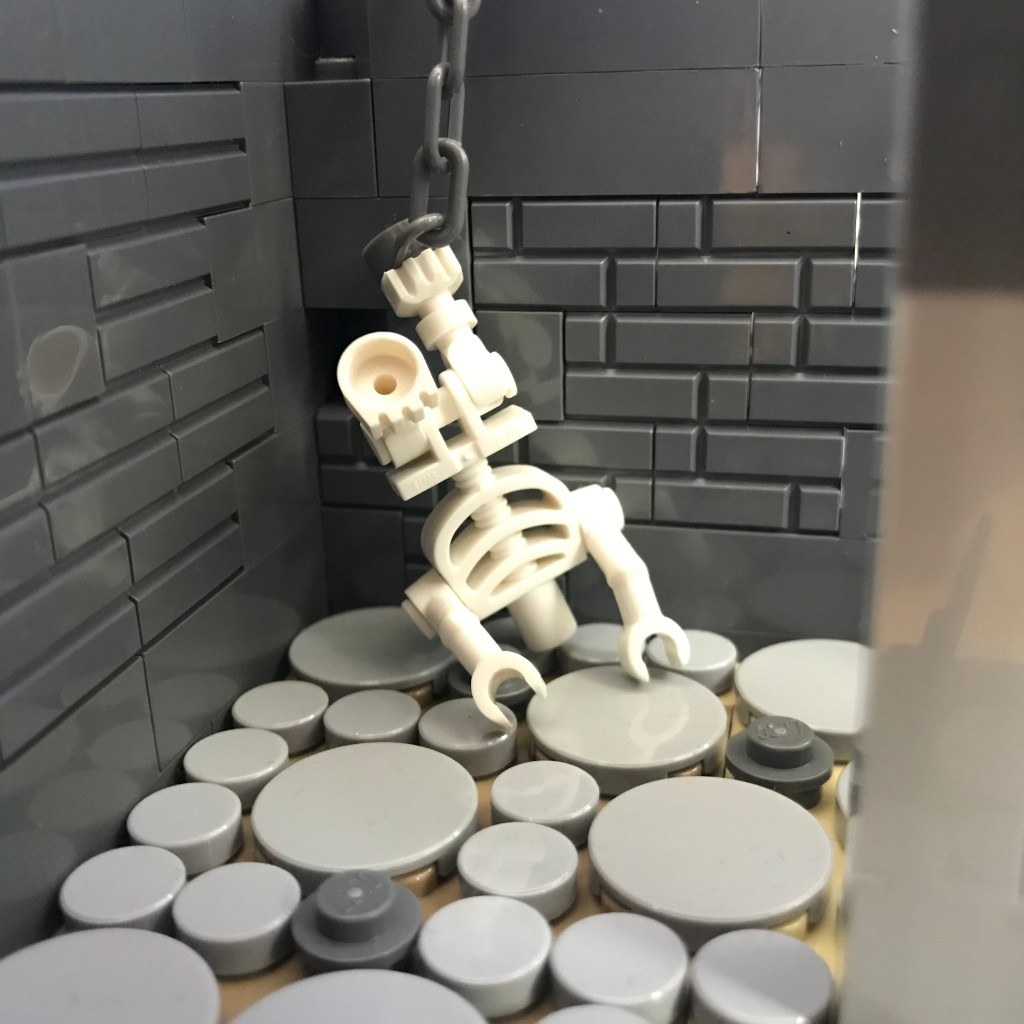
Misako feels a surge of compassion for the skeletons chained to the wall. She pulls a pickaxe from the barrel and uses it to pry apart the rusty chains securing the skeletons.
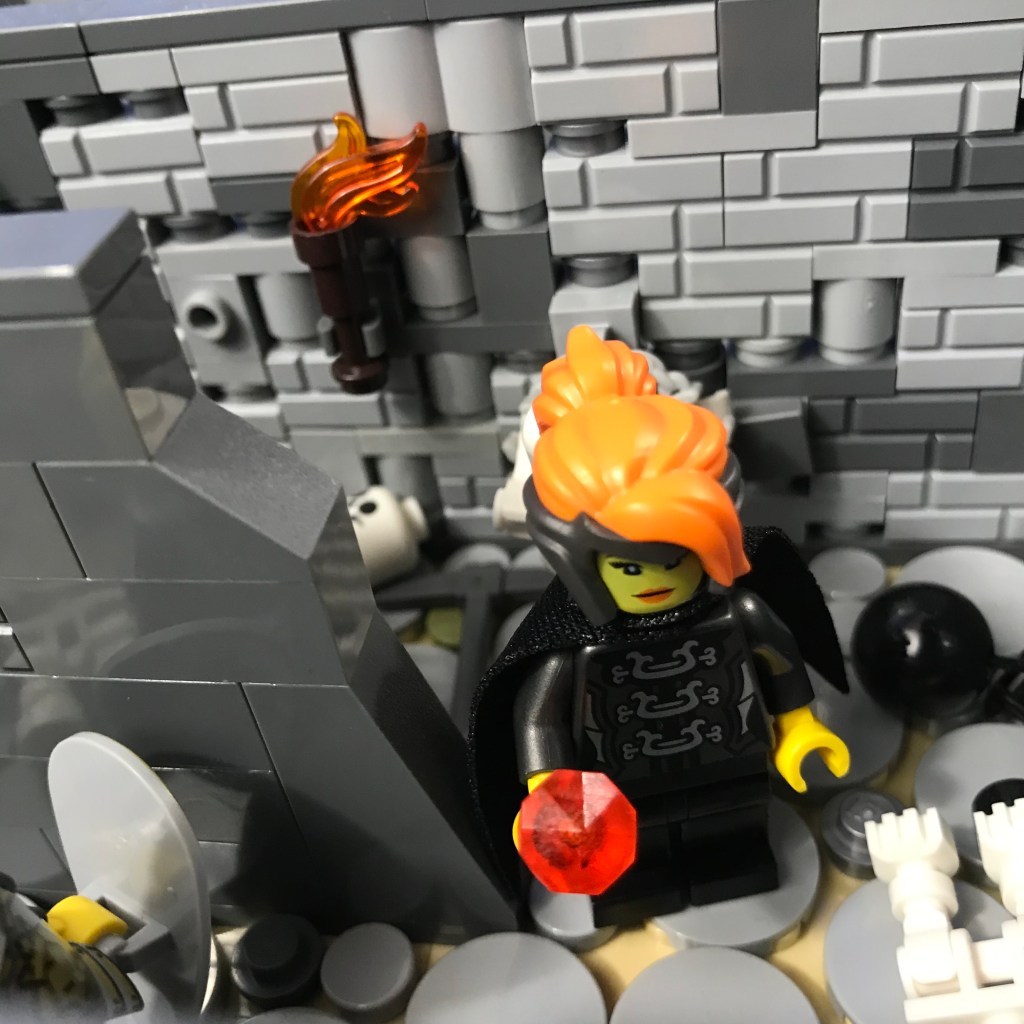
Hearing her companions approaching, Misako turns to replace the pick. She notices a sparkle at the bottom of the barrel and draws out a large ruby – an excellent reward for her good deed!

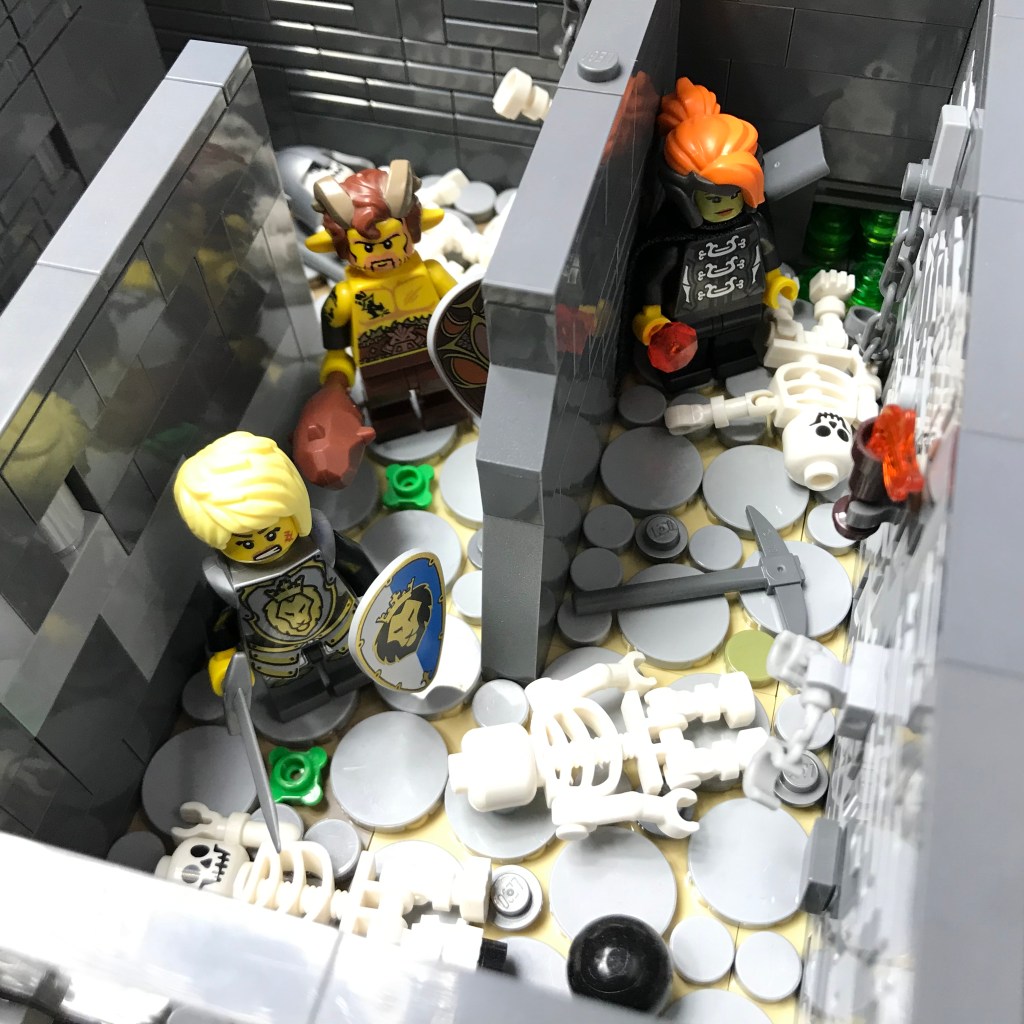
It seems like this little corner of the labyrinth is clear – but where is Smilax?
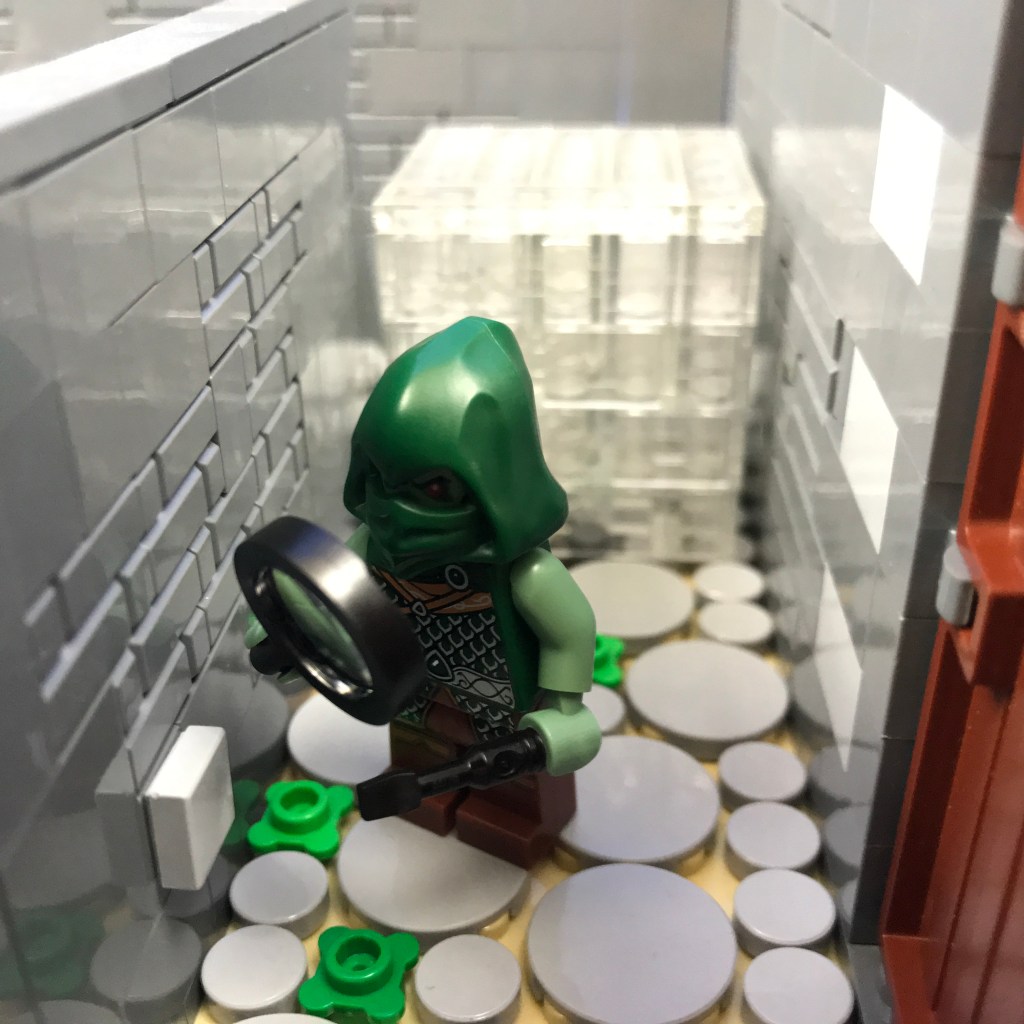
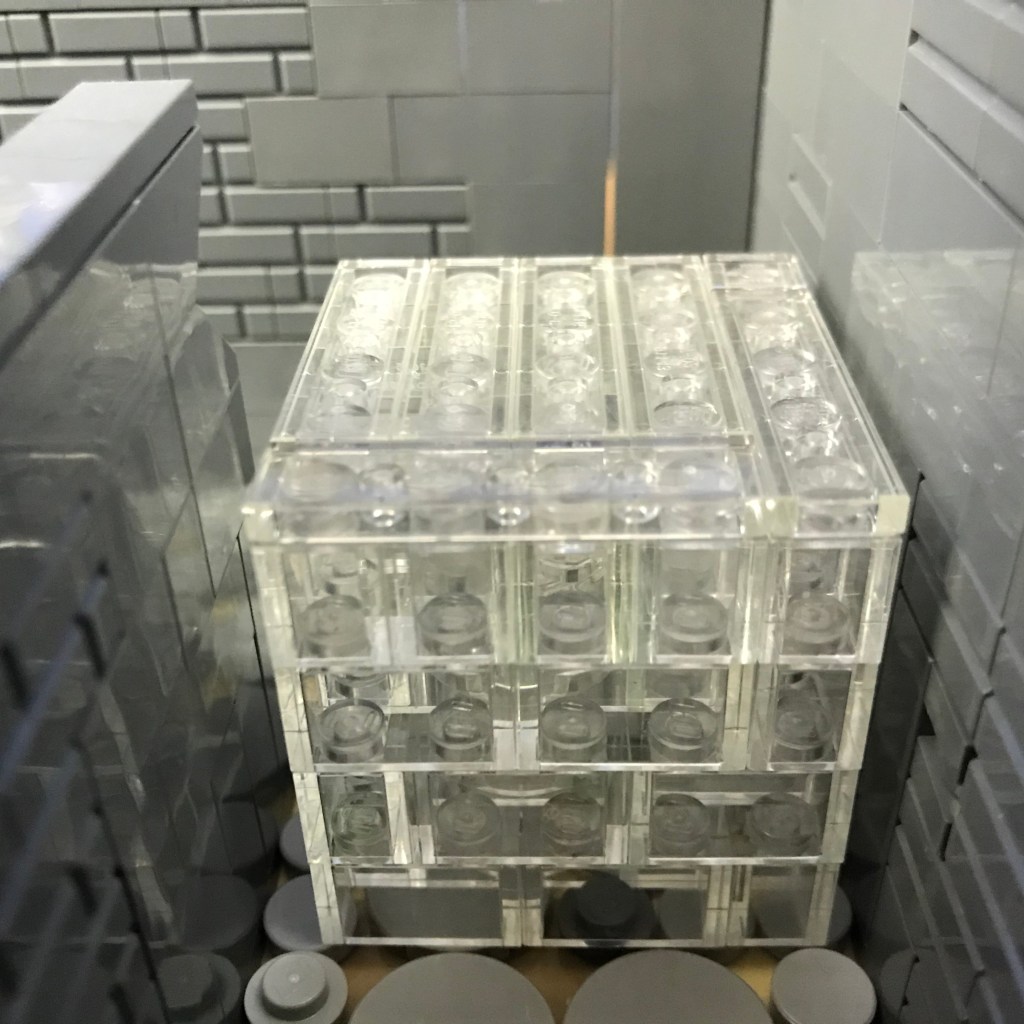
Ingrid, Misako, and Taddeo return to the main corridor and find Smilax absorbed in his inspection of the curious plate sticking out of the wall. He is too preoccupied to notice the threat bearing down from behind – a Gelatinous Cube!

Leave a reply to Cowan’s Maze, Part 2: Gelatinous Cube – Squash Stack Studio Cancel reply